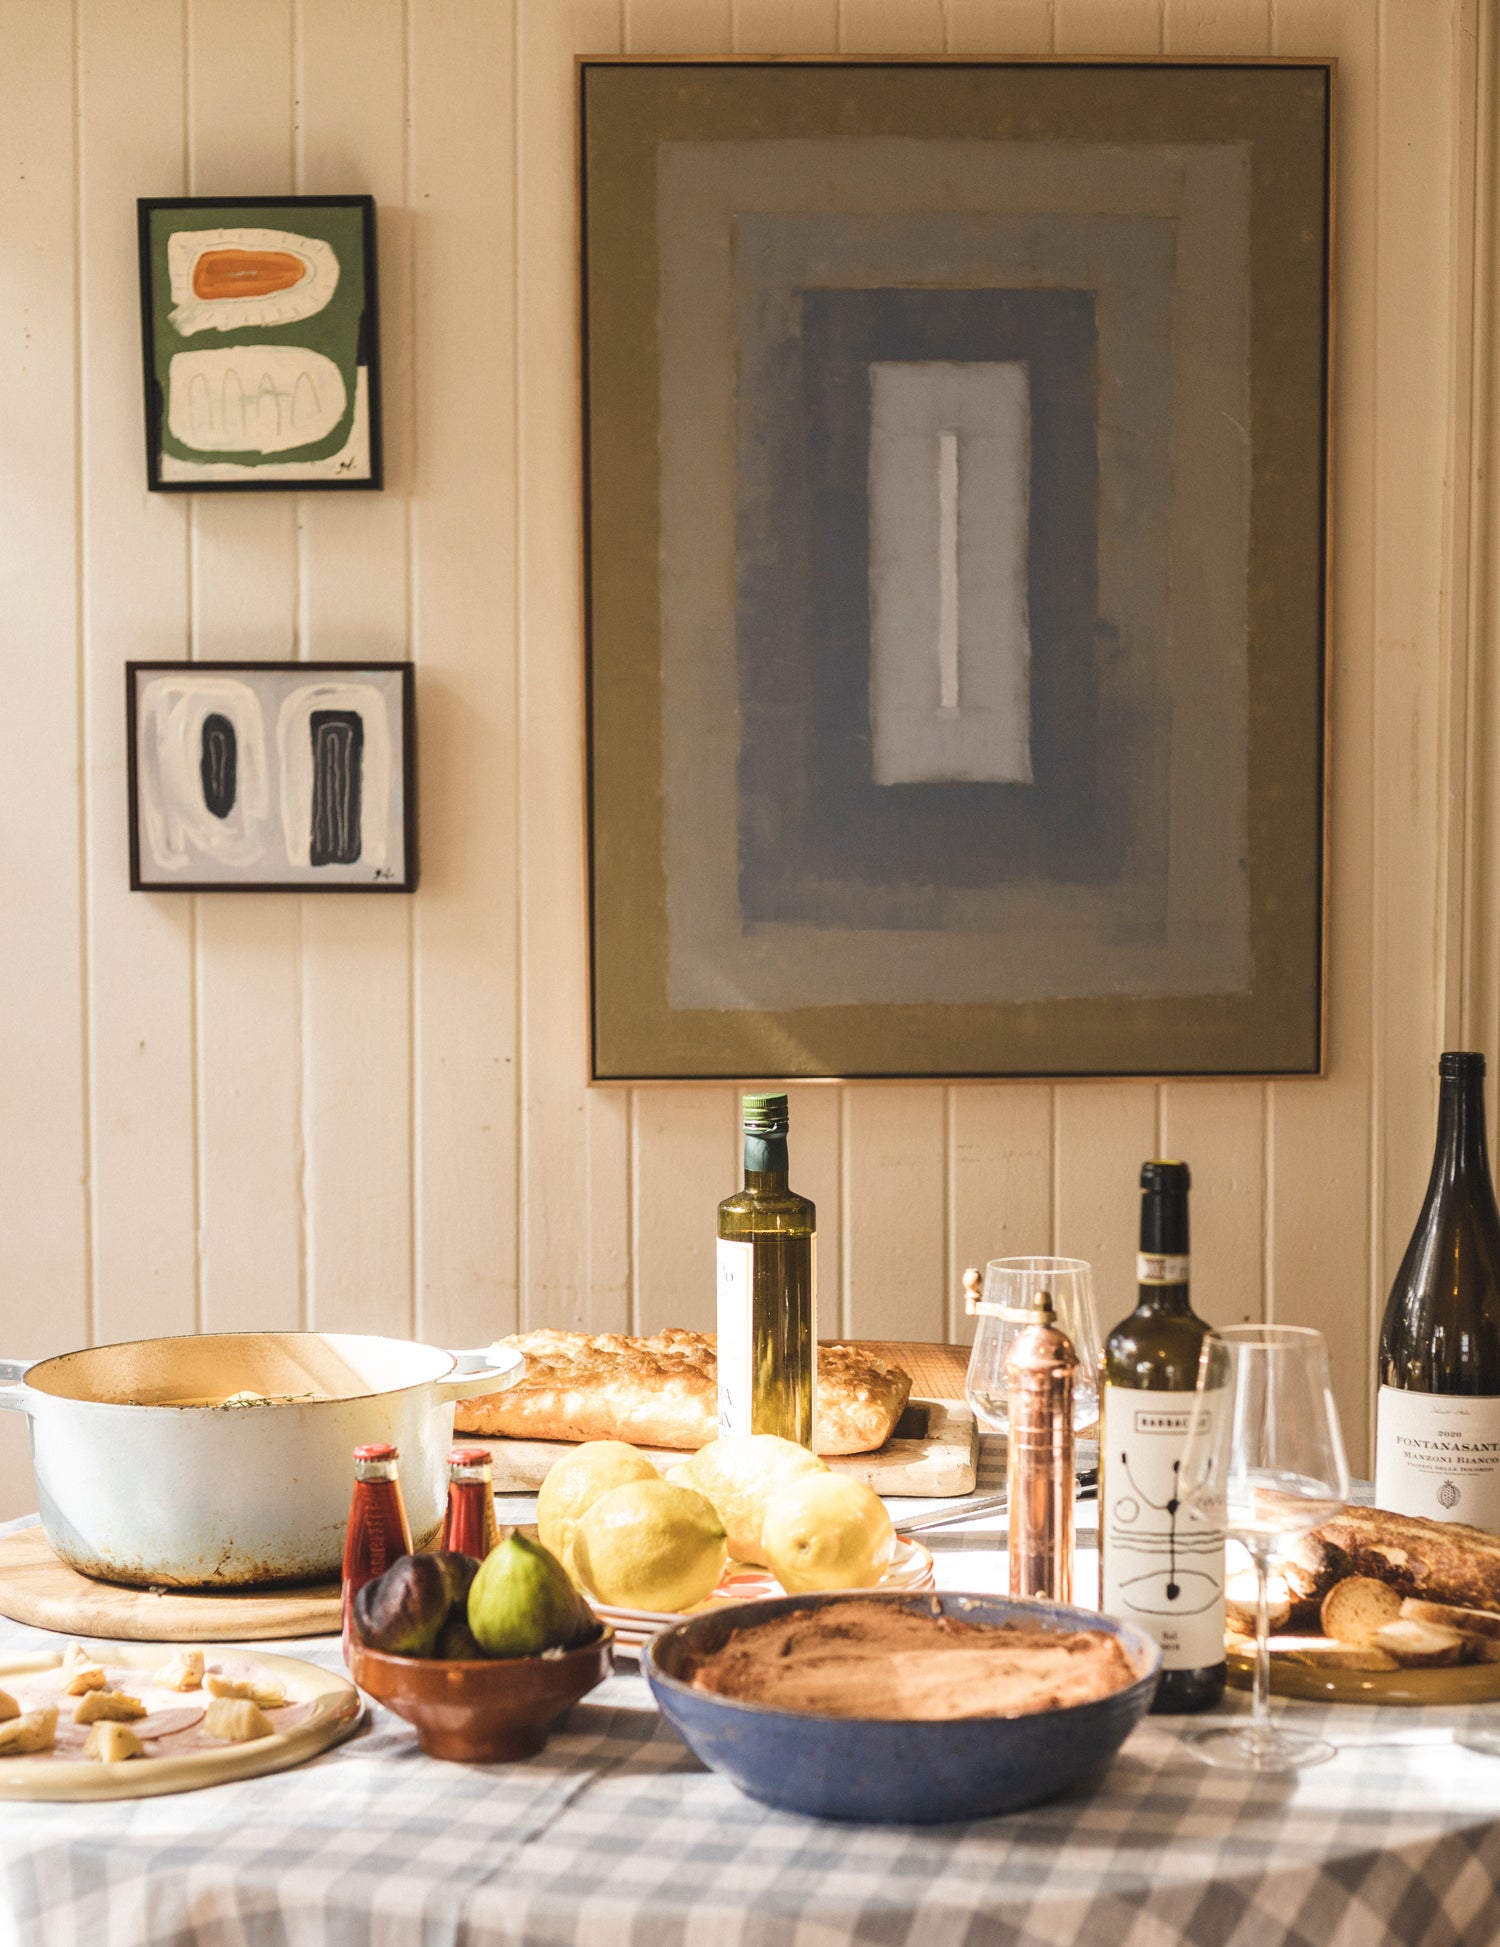
You’ve bought your favourite recipe poster, and now it needs a home! Your new piece of art deserves to be shown off with a beautiful frame to match. We’ve created a step-by-step guide showing you exactly how to frame a poster.
A frame is a crucial component of displaying artwork, it both presents and protects your piece. Take some time to consider how you want to house your poster by reading through our field notes:
Step 1 - Choose a border
A border, or a ‘mat board’ as it’s called in the framing world, is usually white piece of card that positions the art within the frame, also creating a gap between the art and the glass. A mat isn't necessary, more of a stylistic choice if you want your poster to have more breathing space in the frame.
Once you’ve decided if you’d like to have a border, you can then decide on the frame — the mat will dictate the size of the frame.
Note: Our A2 posters measure 42 X 59cm and our A3 measure 29.7 x 42cm
Step 2 – Select a finish
Choosing the right finish is totally a personal decision, but we like a frame that brings the poster to life while also suiting your home.
A natural teak frame is beautiful neutral that works with most interiors, but don’t be afraid to play with colour too!
Frames will either come with a glass or perspex fronting. Glass gives a classic finish, but perspex has the benefits of being lightweight and shatterproof which is great for renters.
Step 3 – Prepare the frame
Firstly, find a flat but soft surface to work on to prevent scratches—laying a clean towel on a table works well.
Most frames will have fasteners, or clips on the back that secure the back board. If your frame has fasteners, we find that a butter knife comes in hand to help push them back fully so everything can slide back into place without the risk of getting stuck.
Next, remove the backing and clean the inside of the glass with glass cleaner and some newspaper. It’s important to let the surface fully dry for 10 minutes — any residual moisture might damage your poster! Best to clean the front of the glass later on once you’ve finished framing.
Step 4 – Mount the poster
Lay your poster on a flat surface facing upwards, attach a small piece of tape underneath the poster, so that a bit of the sticky side is facing upwards. Lay the mat over the top of the poster, making sure it’s aligned evenly before pressing down to adhere it to the tape.
Slip the art and mat into the frame on top of the glass. Carefully re-insert the backing and firmly place the fasteners back into place.
Most pre-made frames come with hanging mechanisms like hinges or D-rings. Grab a piece of twine or wire and tie a loop between the two rings, allowing a little bit of slack. Make sure it’s very secure, especially if you have a glass frame.
Step 5 – Measure and hang your art
When it comes to positioning, too low and your art can look cramped, too high and your art will look ominous and like it’s about to float away. Generally, a good point of reference is to have the centre of the art sit around 150cm from the floor.
It’s great to get help from a friend here by asking them to position your frame on the wall. Get them to hold the picture by the wire or string, keeping in mind it will drop a little from where it’s being held because of the slack in the string. With a pencil, mark the spot you will place your nail or screw.
If you’re hanging multiple pieces, it can be helpful to get some masking tape and map out a skeleton of where you want to hang each piece, especially if its hanging over furniture to get a sense of what works best for the space.
Once you’re happy with the position of the nail, hang your poster and straighten it with a level (there is one built into most iPhones).
Et voila!


